Working in 3D
For week 2, I was challenged to depict the essence of an animal through discarded materials. I produced several 3D models that represent animals and their likeness.
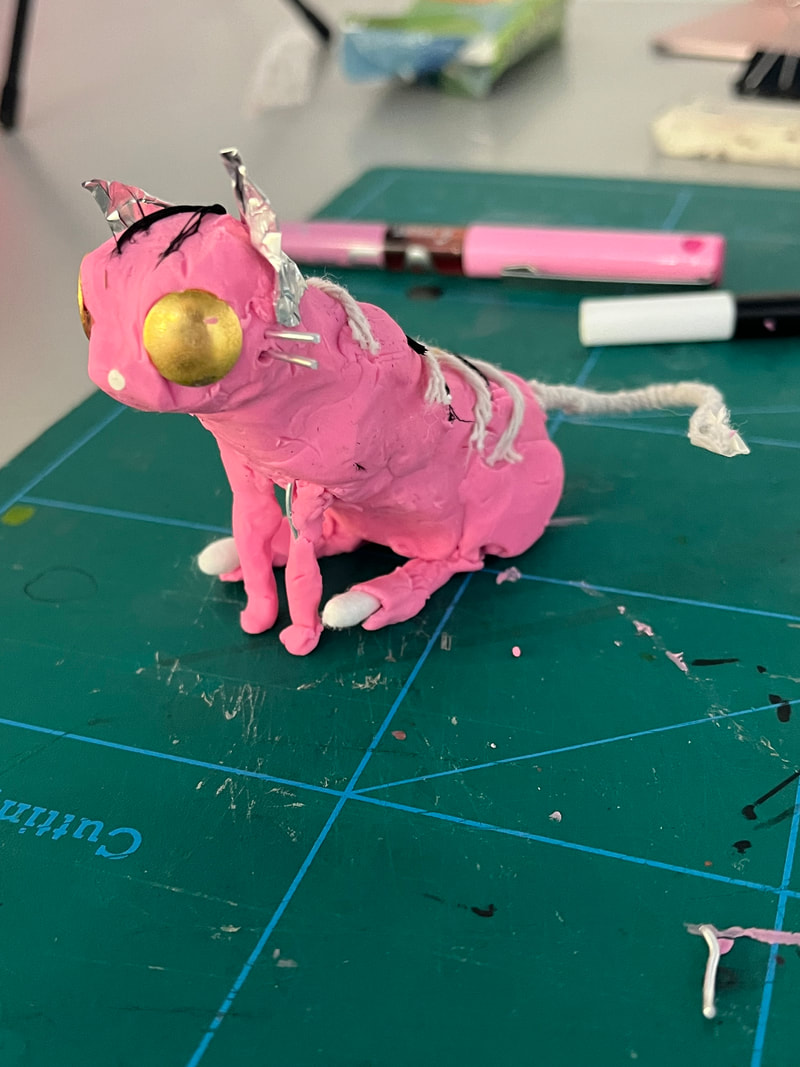
PlasticineI started off by experimenting with some materials, using plasticine as a base. I used wire to help hold the structure of the cat and then began to work in other materials I had laying around, like tinfoil and string.
I believe that plasticine is effective because you can carve in the shape you need and add in detail if needed. |
Starting off simple
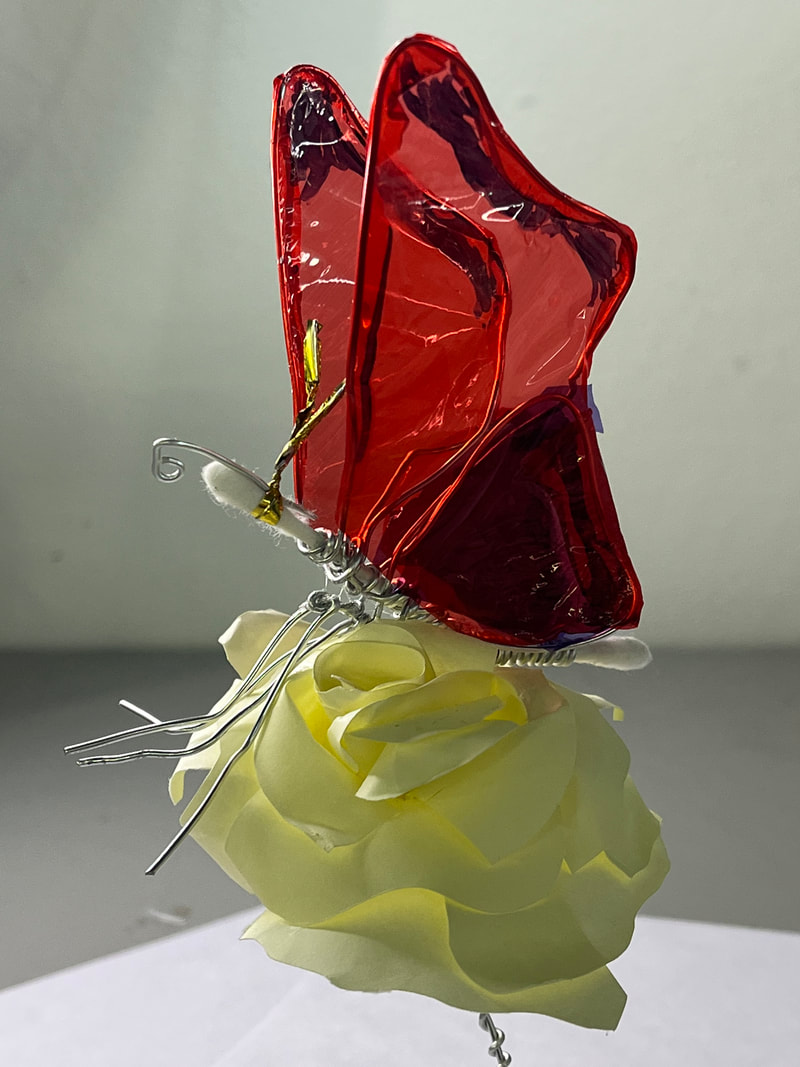
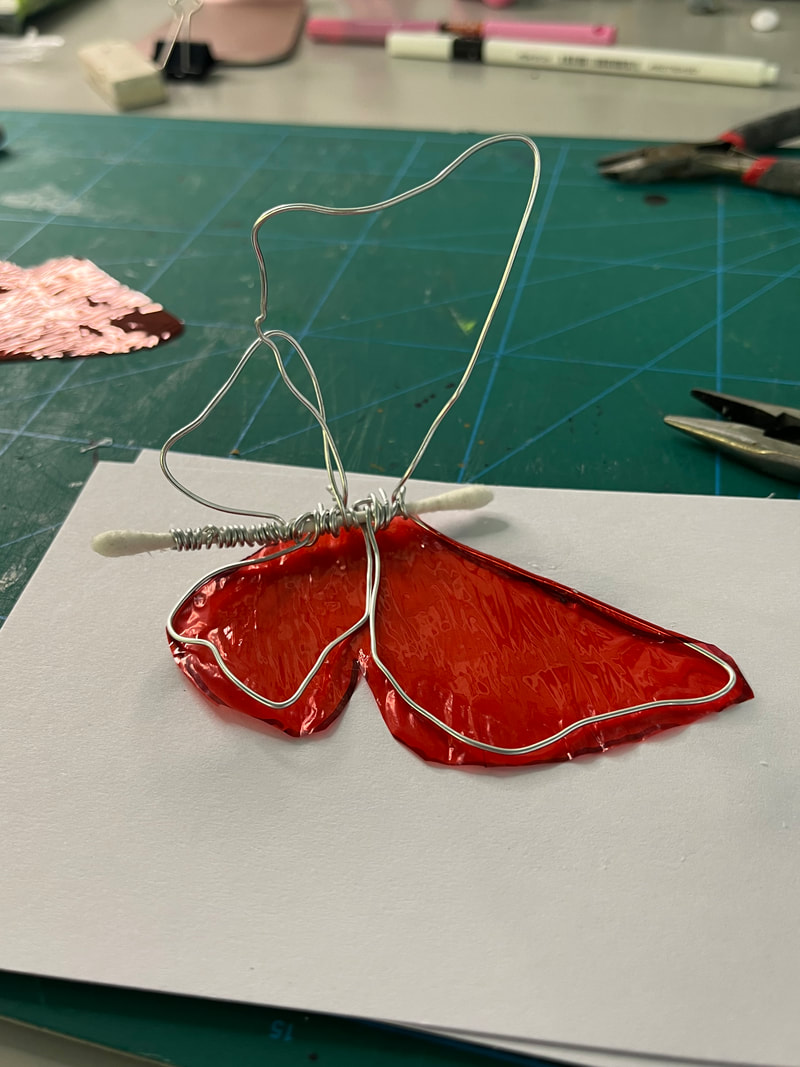
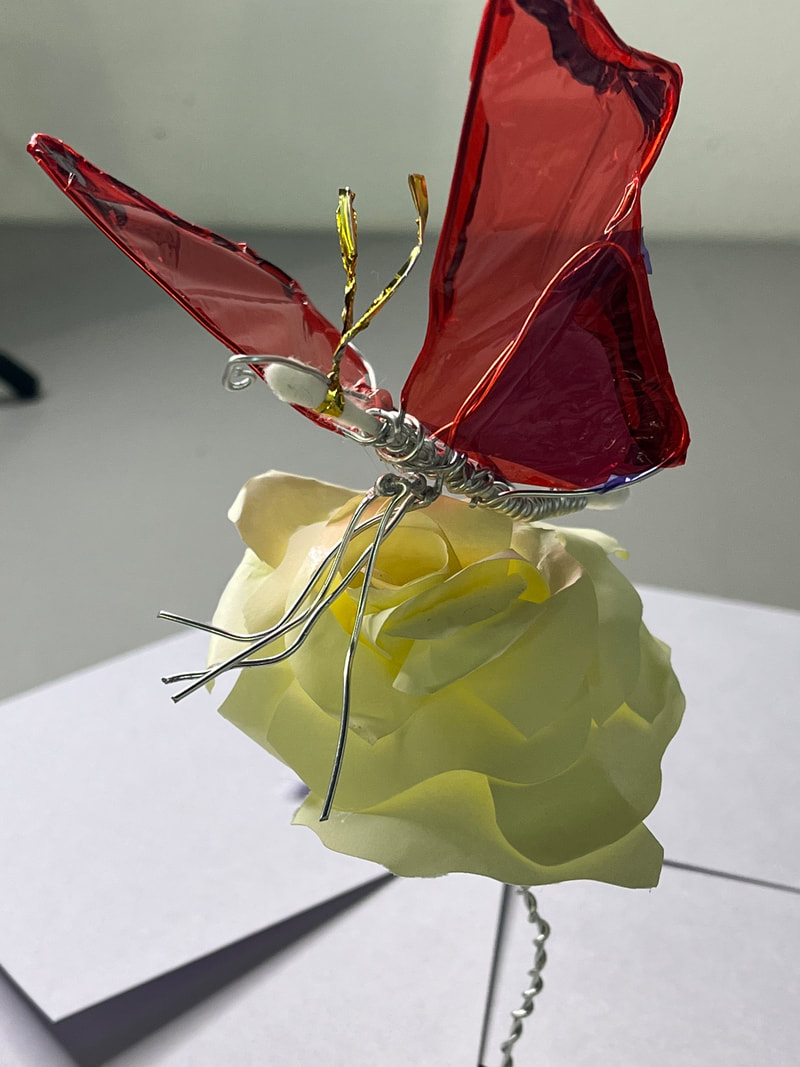
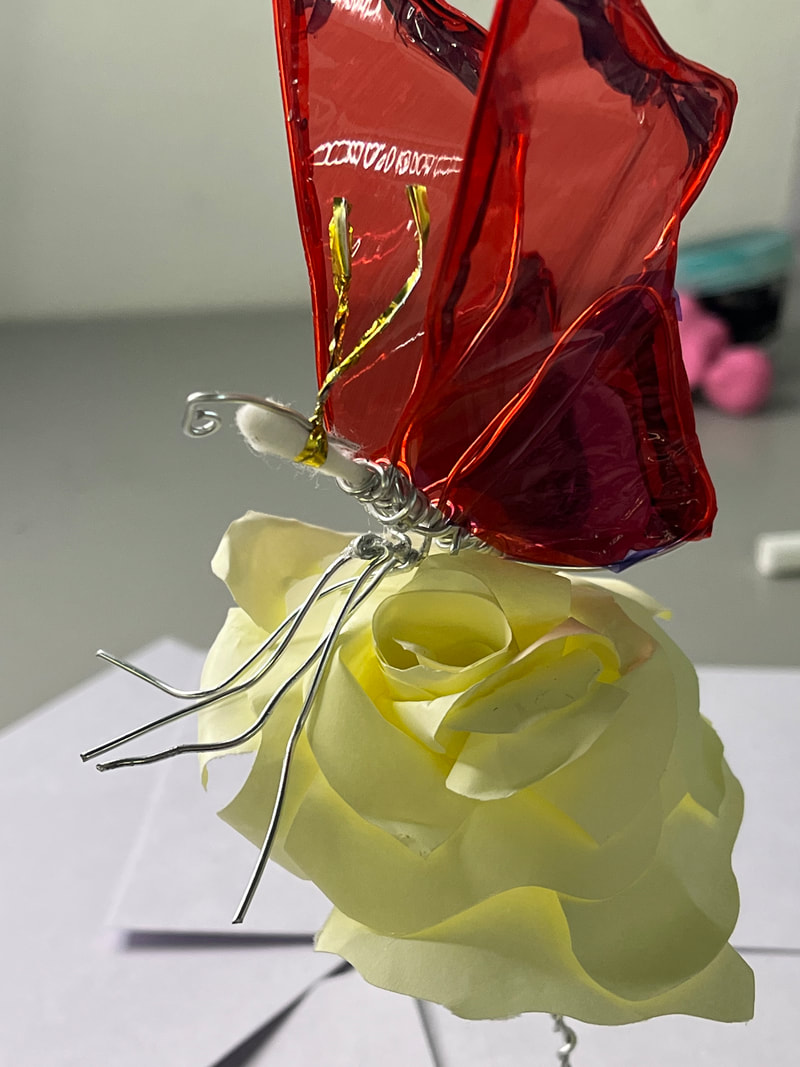
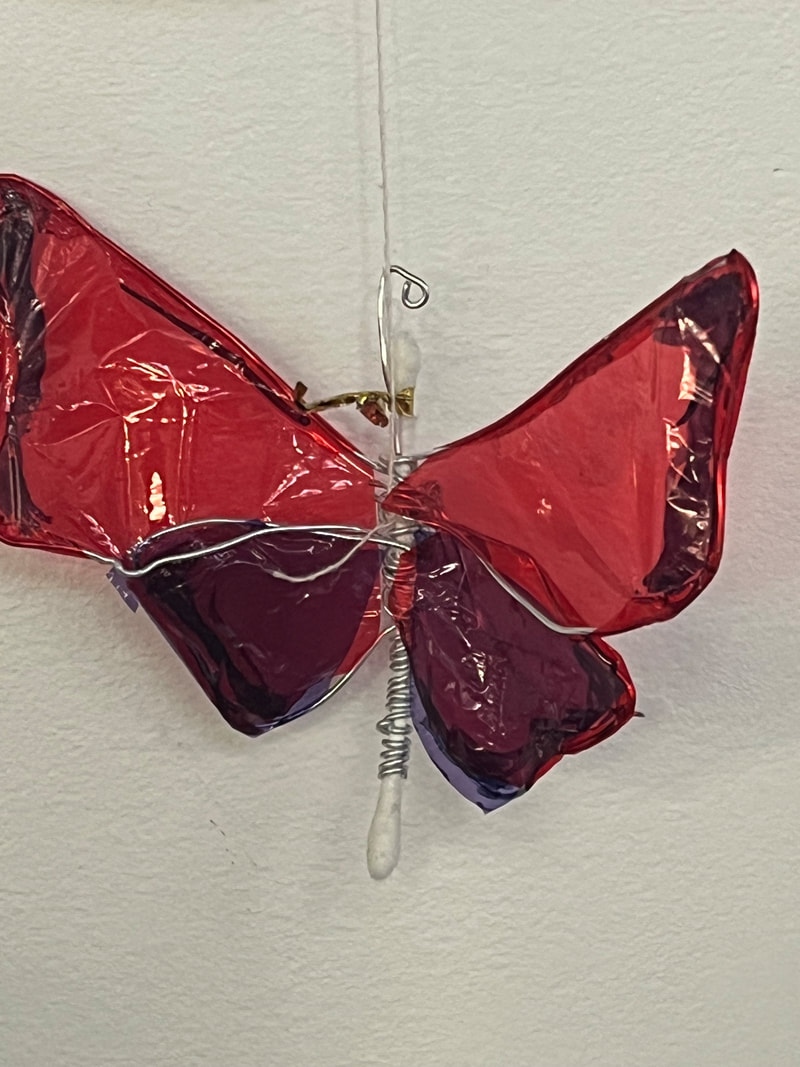
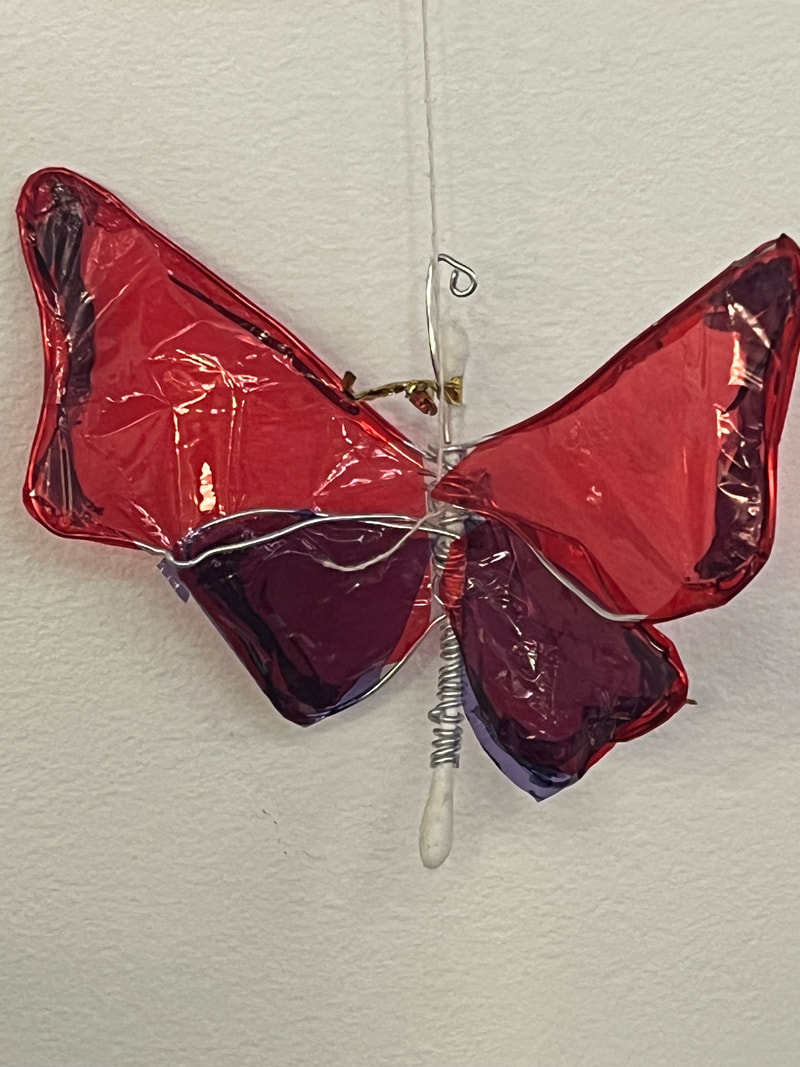
I decided to start off simple as a way to understand the materials I had on me at the time. These being translucent plastic sheets, cotton buds, wire and post-it notes. I wanted to try and replicate the elegance of a butterfly through these items, to achieve this, I started off with the wire frame of the wings and replicated it for the other side, with the extra wire (from the frame) I wrapped it around a bent cotton bud to get the shape of the body. Afterwards I glued on the plastic around the frame, layering colours and adding on some sharpie to get more detail. I found a small twist tie and used it as the antenna and as a way to attach the butterflies mouth. Finally I attached the legs.
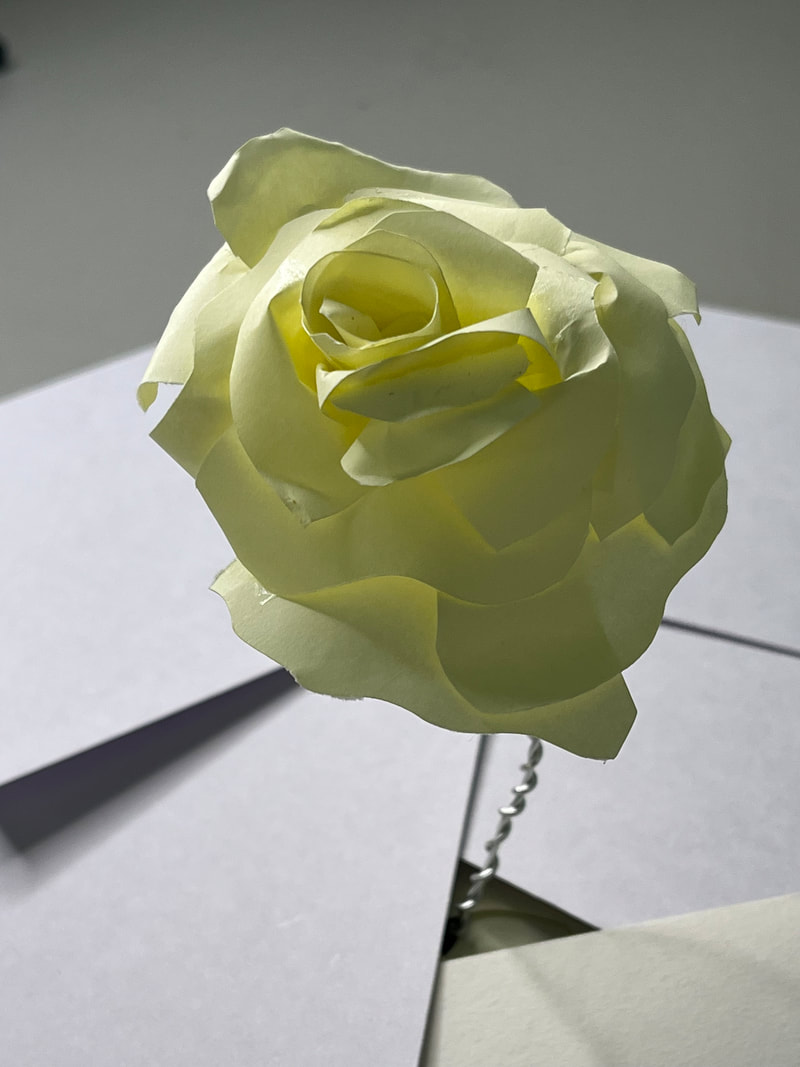
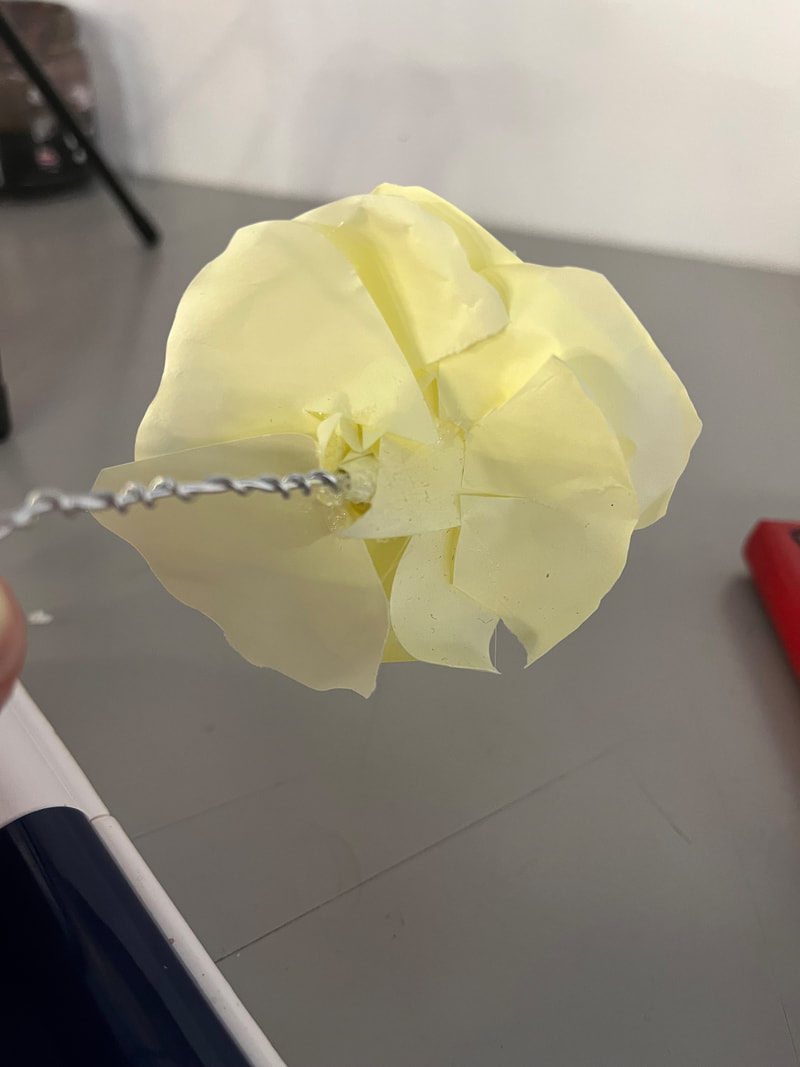
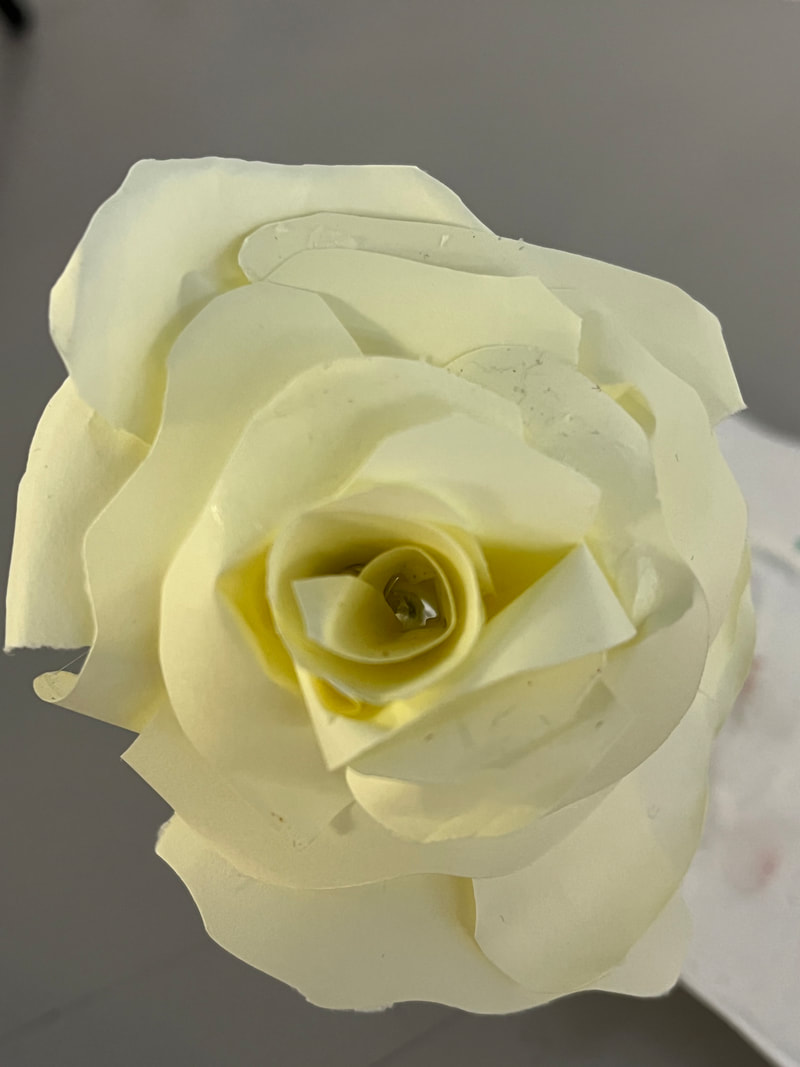
Because the butterfly by itself wouldn't be that interesting, I constructed a rose out of post-it notes and used a wire as the stem. Doing this gave the butterfly something to rest on when taking the photos.
Because the butterfly by itself wouldn't be that interesting, I constructed a rose out of post-it notes and used a wire as the stem. Doing this gave the butterfly something to rest on when taking the photos.
The DogNext I wanted to see how I could turn a box into an animal. I used long strips of paper to create the fur and worked with bits of plastic and an iced coffee lid to add in the details. Finally I went in with the sharpie to add more definition to the face.
|
The Bird
|
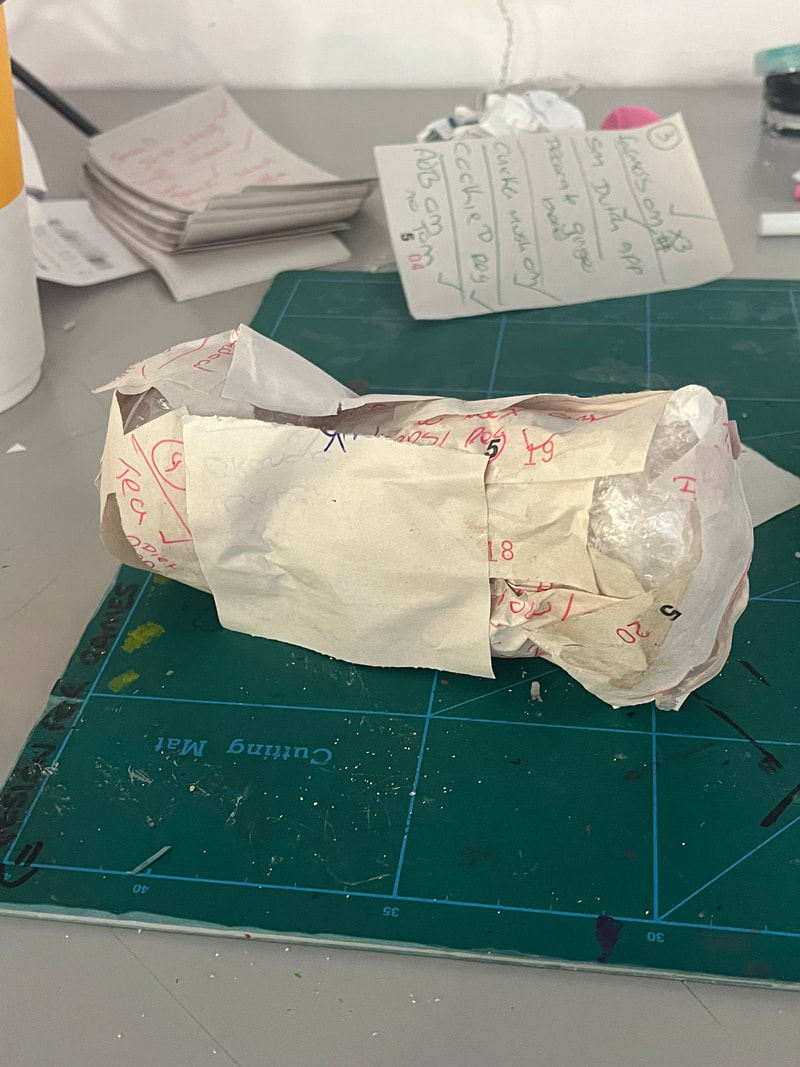
I created this bird with pieces of paper filled with peoples orders from the restaurant I work at. Over the past few months I have collected hundreds of them, because of this I decided to create a bird out of the pages.
I started off with a base of bubble wrap and wire, this helped me create the basic shape. Afterwards I mixed a solution of glue and water and used that to paste on the beginning pieces of paper. I had to wait for these to dry completely before I continued as I didn't want anything to shift out of place. I continued layering until a solid structure was formed and with this, I could begin to work on the rest of the bird. |
|
For the eyes, I used some copper nails that I pushed into the paper. From the last 3D project, I had some lolly pop sticks left over, so I cut them at an angle and used them for the beak and the feet. With scraps of wire I defined the toes.
Finally, I created a structure for the wings out of wire, the I glued on larger pieces of paper. Once that had dried, I started to layer on smaller folded pieces to create the feathers. I decided to create one open wing and one closed one to help show different techniques. When they dried I glued them on and because of the wire I was able to bend one of the wings to the side. |
Site powered by Weebly. Managed by 34SP.com
